Replacing a Regulator
1997 Liberty #5855 "T"
Next Page
In the War on Leans this is just another Battle.
Strange an unknown air related parts keep on surfacing around the bus. Parts I never knew existed keep on taunting me with their potential to leak. I just keep on spraying looking for bubbles. But I will win this war.
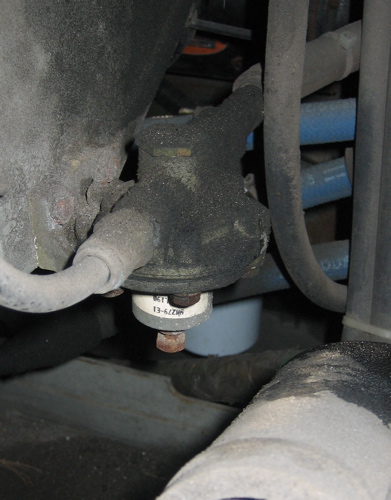
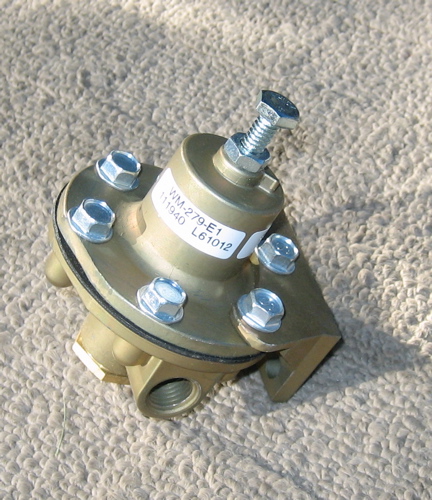
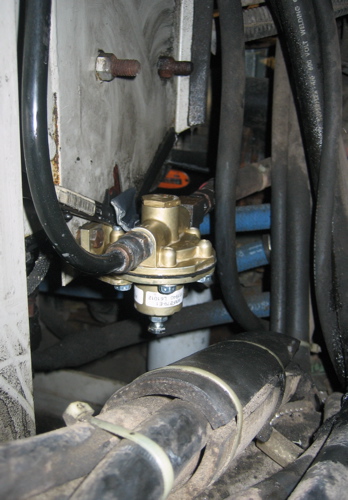
This regulator is in the rear section of the bus on the passenger side behind the house batteries. Not easily accessible, I heard it hissing one day and verified the leak with a soapy spray.
I believe it regulates the air going to the mini bags for the belts on the engine. But at this point I'm not a 100% positive.
Part Info
Prevost Parts 800 621-5519
Part # 640938
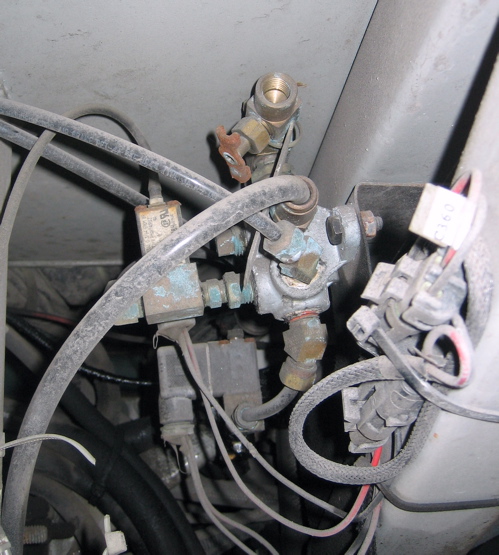
As I mentioned, this is not an easy one to get at.
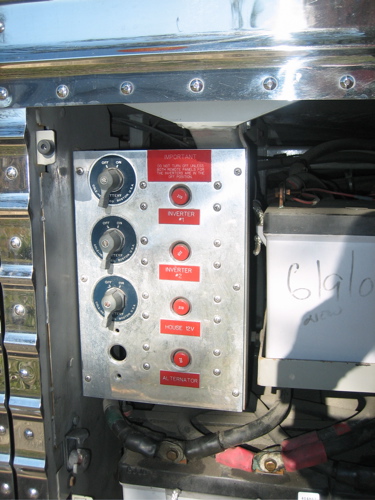
First step is to remove the breaker/disconnect panel. Since the panel was going to be exposed and carried a lot of amps I decided to remove the + terminals from the batteries to diffuse the wiring in the rear of the removed panel.
Note: With my inverters (Heart) you need to switch them off first inside the bus before turning off the disconnets on this panel.
Note 2: When disconnecting the + cables from the battery with a metal socket wrench be mindful of a potential arching situation if you ground that wrench out against any bus metal.
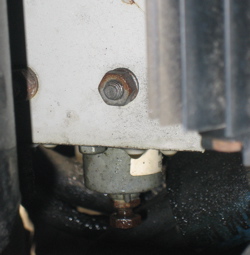
The regulator is bolted to this bulkhead. You can see one of the two nuts located at the white arrow. Nuts require an 11mm wrench.
Re-air the system.
Don't forget to blast the all the fittings with your high tech soapy mix to check for leaks.
Reinstall the panel and re connect the battery. Please re-read Note 2 from above.
12.16.2006